Rosette making
Happy new year to everyone!!! I hope you had a good start in 2016. The first post in the new year is something that goes back a few weeks but didn't made it to finish a post.
I have started my new builds and prepared some custom rosettes. These two are for a comission for two guitars that will go to the US and I am very excited that these will be the first two Voss guitars that will be shipped across the atlantic!
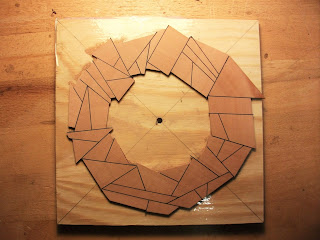
Now I took some pictures of the process and thought it might be nice to share these and explain about how I make them. First thing is to make this kind of sheme or mosaik. Pearwood pieces are cut out and glued with tidebond woodglue. I use a plane and plates with sandpaper to fit the individual pieces. The thin lines are black dyed poplar veneer that is glued in between the pearwood pieces.
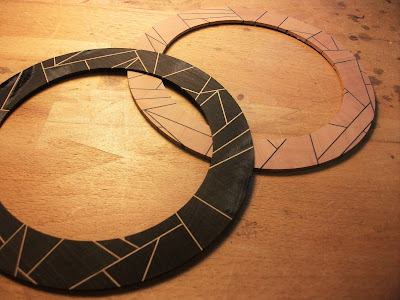
3 to 4 hours later an odd shaped ring is assembled. After this has dried I fix all the joints with low viscosity superglue which at the same time makes the ring stick to a piece of plywood with packing tape. The importance is to get a removable glue joint with the surface. This makes it possible to put the hole thing through a drum sander and cut out a ring shape with a circle cutter and afterwards remove the cut out ring from the plywood.
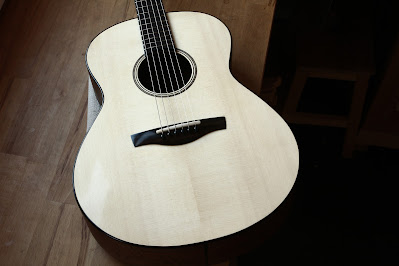
Last step is to add some veneers to the ring. The veneers make it a finished rosette that is strong enough to be sanded flat with a drum sander. This makes fitting the rosette into the top easy.


Comments
Post a Comment